Interior Design/Interior Decorating

3 Secrets to Selecting Better Outdoor Fabrics
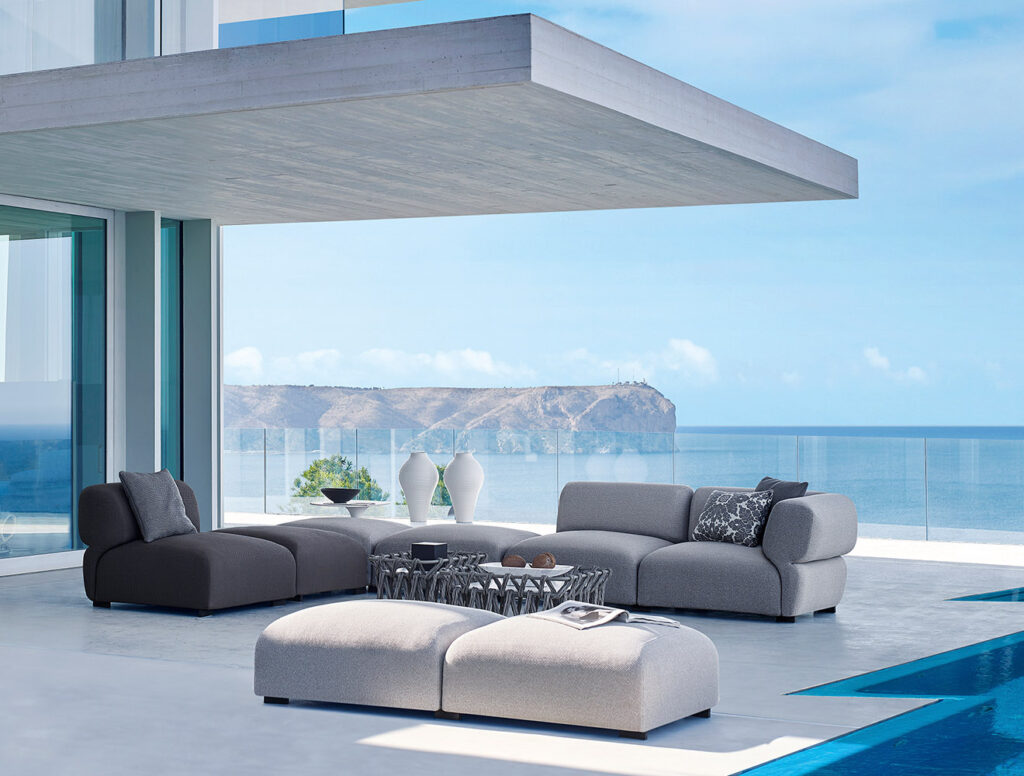
outdoor furniture
Photo courtesy of B&B Italia

Do you ever feel overwhelmed by all the outdoor fabric choices and aren’t sure where to start to select outdoor fabrics that will last longer. Read on for my top 3 secrets to success as an interior designer.

  1. Fabric with protection coating on each and every yarn. Look for outdoor fabric where the protection is actually part of the material instead of just applied on the surface.

2. UV Resistant – Ensure that the fabric is UV resistant or ultraviolet resistant which can cause degrading or fading. Of course all fabrics will fade over time but the better the UV resistant the longer it will last.

3. Pill Rating – Pill ratings tell you how resistant a fabric is to pilling – the annoying strands or tuffs of fiber that stand out on top of a fabric. The higher the rating the more resistant

Want to learn more about interior design trends and insider secrets from Kansas City’s interior designer and former host of Living Large design show? Sign up for our free weekly newsletter now.

karen-mills.ck.page/8d0663c849
Interior Design/Interior Decorating

5 Important Steps to a Well-Designed Bathroom

Whether building a house or remodeling, it’s important to take a step back and walk through these steps before making decisions

photo example
Interior design by Karen Mills

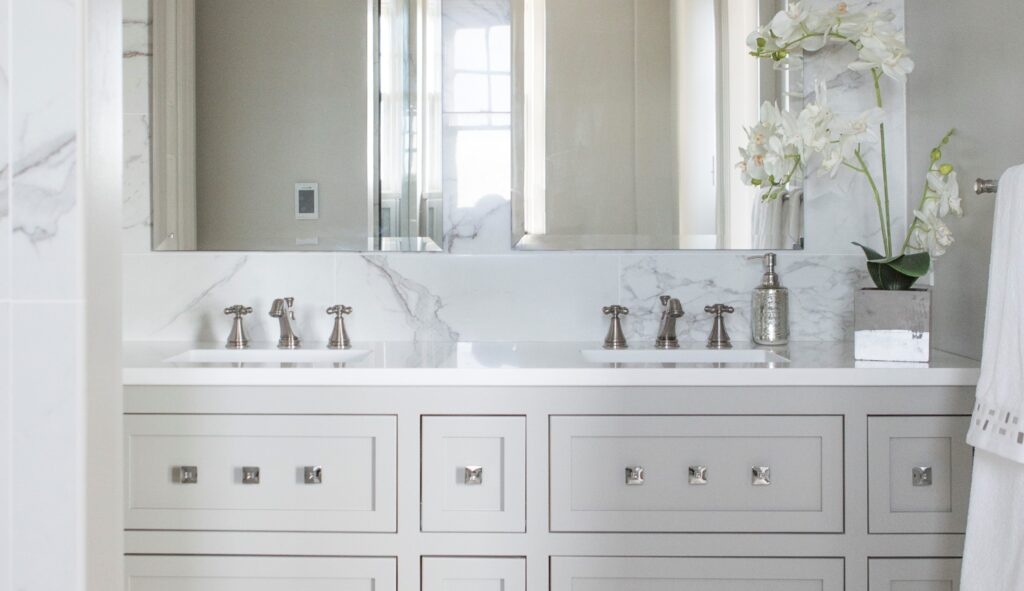
1. Get Inspired – As an interior designer I highly recommend that you find two to three bath inspiration photos that you love because they reveal your style preferences.

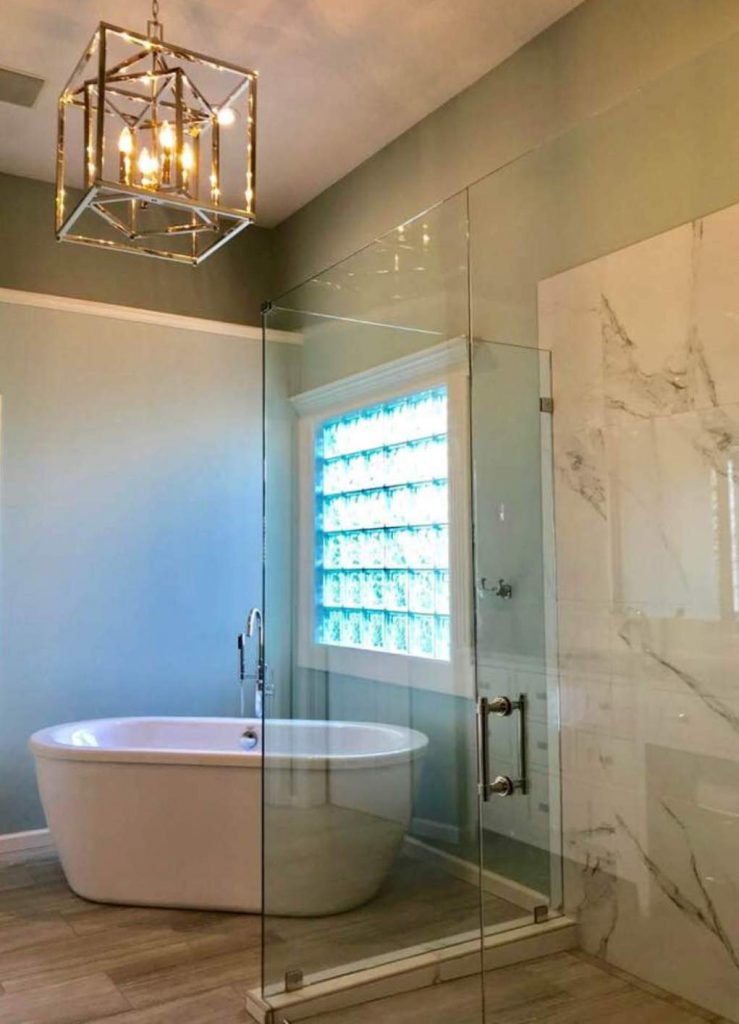
Since our clients were inspired by the beach, a favorite vacation destination of theirs, we designed their master bathroom remodel here around a color scheme of watery blues, white, sandy beige, and warm rustic grays including the sandy colored wood look tile on the floor.

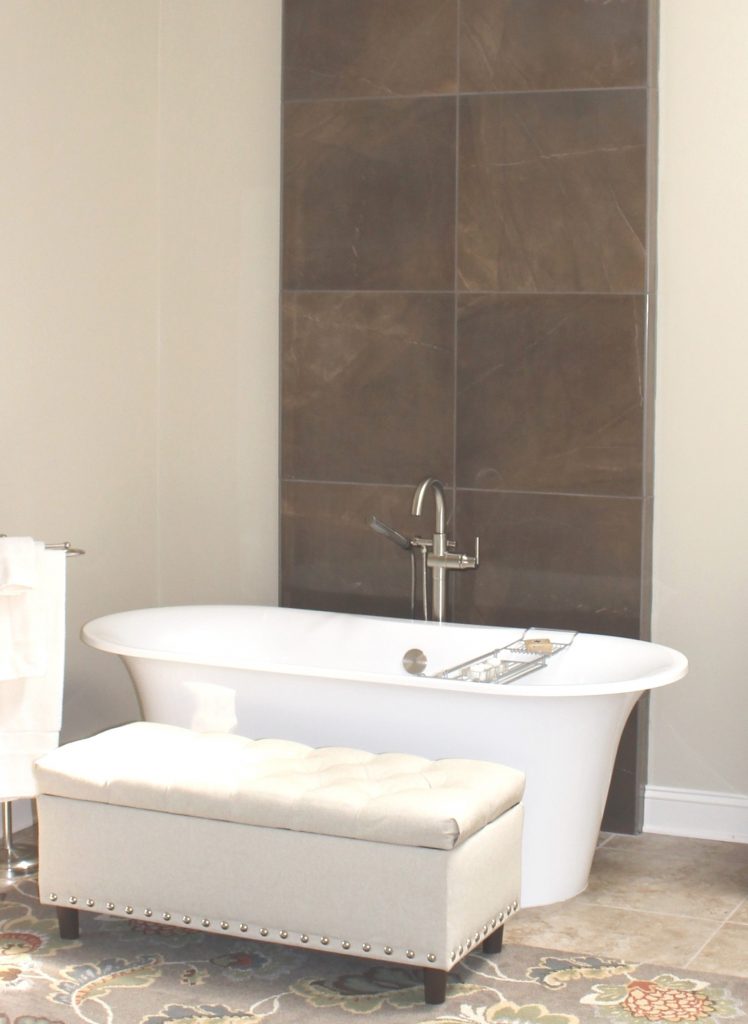
Click here to read our blog post 3 Ideas for Luxury Bath Design with Free Standing Tubs

photo example
Kansas City interior design by Karen Mills

2. Evaluate Your Needs -Now that you’re ready to get started on your bathroom design, it’s time to review what’s missing in your current bathroom along with what you would like to have in the new bathroom. Here are some other things to consider

A. What can you do to make your space more functional for you??

B. Why are you remodeling in the first place?

C. Do you need to move plumbing? If not, that can mean big savings.

D. Will you be aging in place (retiring) in this bathroom?

E. What are your priorities – tub, shower, or both?

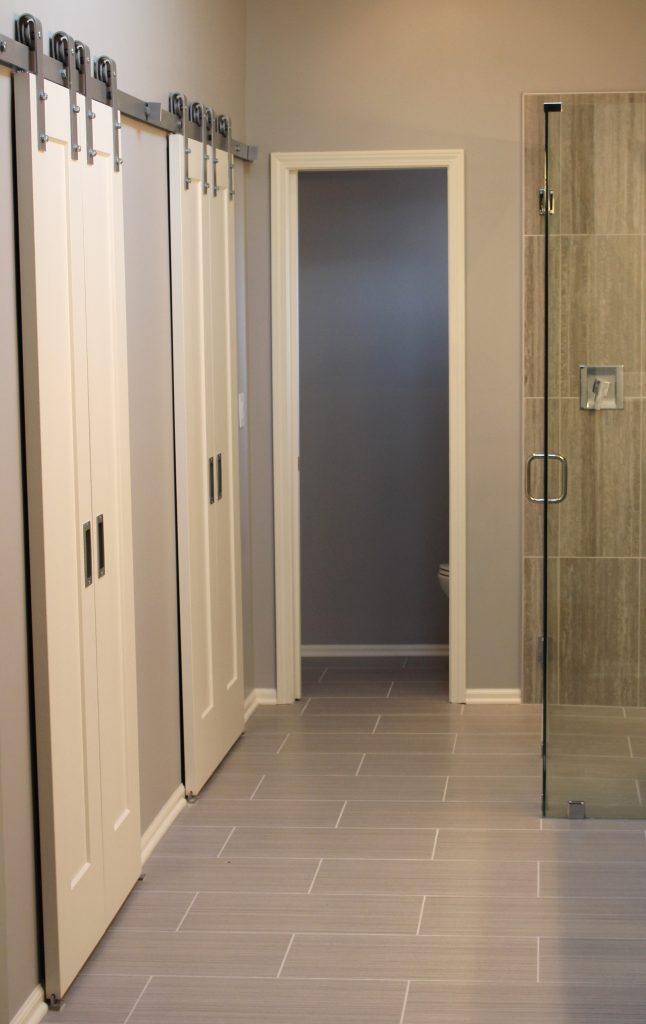
In this bathroom remodel, the clients needed better access to their closet and more room so we added barn doors that could be slide open and shut depending on which part of the closets needed accessed since there wasn’t room for pocket doors.

Click here to read our blog post How to Remodel a Tiny Bathroom into a Visually Larger Space

photo example
Kansas City Interior design by Karen Mills

3. Determine a Budget – Next you need to determine how much you can invest into your bathroom remodel. I always suggest to our interior design clients to consider the house value, neighborhood, and how long they will stay in the house, along with resale.

If you have no idea of costs, you can go online to get a rough idea but remember that any online companies post estimates that are way too low and that’s why I recommend that you reach out to a professional to get a better idea.

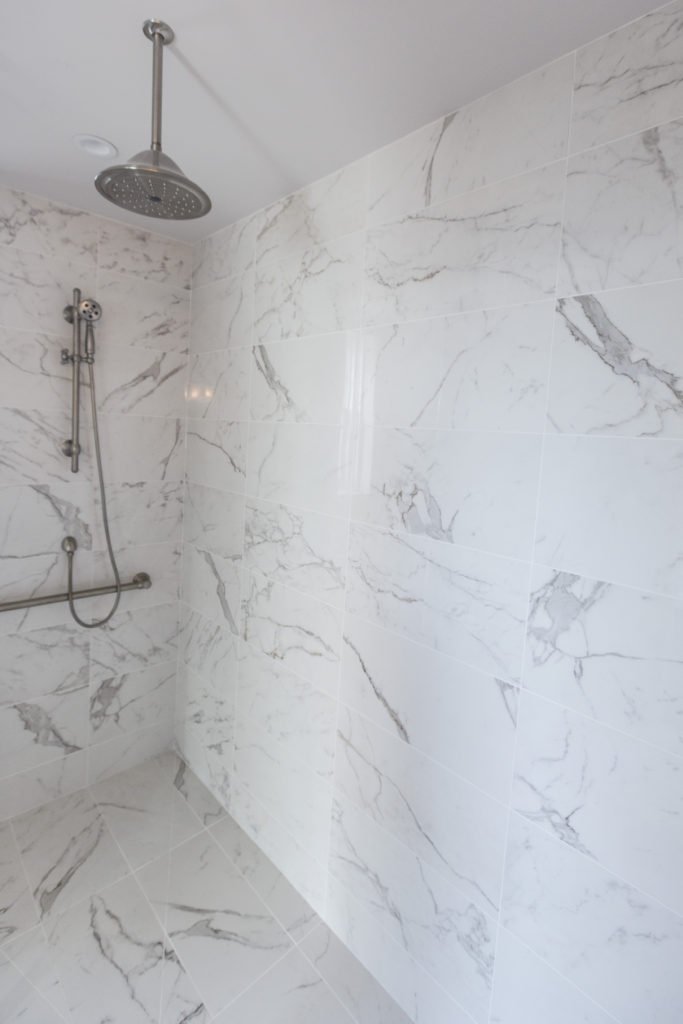
In this master bath remodel located in a luxe high-rise apartment on the plaza we needed to create a wow look on a reasonable budget, so I covered the floors and walls with a marble look tile from Italy to give it a wow when you walked in the bathroom.

4. Reach Out to Professionals – Now that you’ve gotten an idea of your style, figured out your needs, and determined a budget, now it’s time to reach out to a professional interior designer who specializes in bathroom remodels so they can create a design concept, often using sketches, finishes, and floor plans, to help you visualize the final project while also helping you determine if your budget will work or not.

Once you’ve done that reach out to a contractor to give you a remodel estimate based on your design and schedule a time to start your project.

photo example
Overland Park interior design by Karen Mills

5. Finalize Design and Select Finishes– Now that you’ve found inspiration, determined your needs, set a budget, and contacted a professional interior designer, now it’s time to finalize everything that’s part of your project including paint colors, flooring, plumbing, tile, back splash, mirrors, light fixtures and more.

Click here to read our blog post about the 3 Biggest Mistakes We Make in the Bathroom

If you’re looking for more custom interior design, decorating, or remodeling inspiration, ideas, and photos, sign up for our weekly newsletter here.

Plus become a fan of Kansas City’s interior designer and former host of the Living Large design show, Karen Mills, on 
INSTAGRAM and FACEBOOK now!

Interior Design/Interior Decorating

Principles of Interior Design: Part 2

What are the Principles and How do You Use?

As an award-winning interior designer, I like to make use of these principles regularly to create stunning spaces. Read on to learn more.

Interior design by Karen MIlls
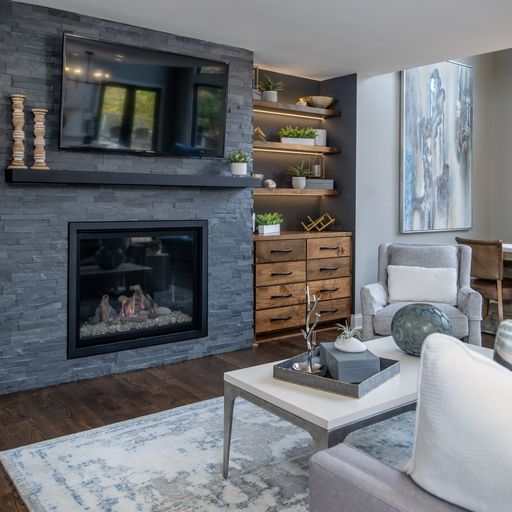
  1. Emphasis: By giving more importance to one feature you create a focal point or feature in the space. In this stunning room we designed we gave the fireplace more emphasis to make it a focal point by covering the dated stone fireplace in charcoal stacked stone and adding glass rocks inside the fireplace. A newly designed floating chest and built in lit shelves add to the emphasis of this focal point.
Interior design by Karen MIlls

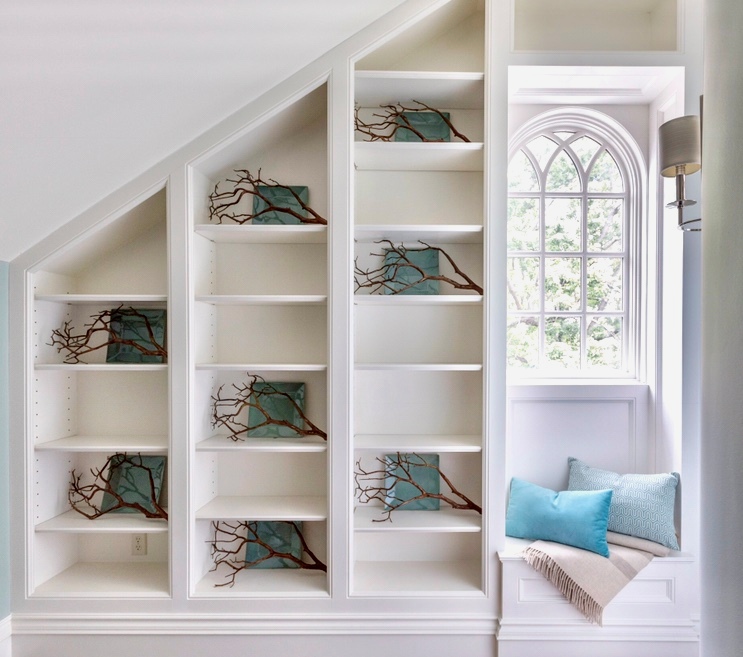
2. Rythm: A pattern of periodic repetition of elements in succession such as lines, shapes, motifs, or colors such as the steps or spindles on stairs. In this foyer branches and plates on the shelves create rhythm in the room.

3.Harmony: The creation of a unified design using the various parts to create an overall pleasing whole. When you have harmony, you’ve achieved a successful balance between unity and interest in a space.

Want to learn more about interior design trends and insider secrets from Kansas City’s interior designer and former host of Living Large design show? Sign up for our free newsletter now.

karen-mills.ck.page/8d0663c849
Interior Design/Interior Decorating

5 Steps for Creating Fall Decorations Using Found Items…

How to Use Fall Foliage, Pinecones, and More to Decorate

Since I’ve been too busy with interior design projects the past few years to have time to share my design tips on local television every week or two, I wanted to share some fun ideas today for creating fabulous fall decorations.

Karen Mills' blog
Interior decorating by Karen Mills
  1. Determine your color scheme. In this example I chose typical fall colors including green, orange, and red with brown and white as neutrals. For the pine branches, I normally trim from my own pine trees so I can also have the wonderful smell of pine inside.
Decorating by Karen Mills

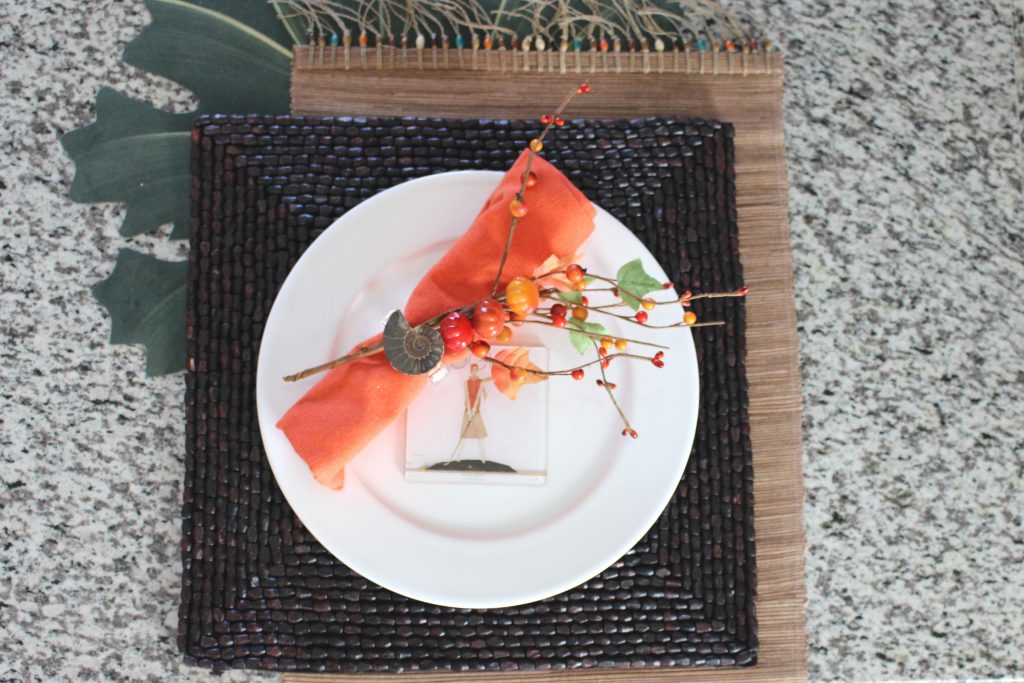
2. Gather natural items from your backyard, woods, or home. If you don’t have enough real items available to do all your fall decorating like me, then consider adding realistic looking decor or other items that reflect your personal style. In this table setting, I incorporated a couple of my favorite themes with found items at home including a real shell napkin ring and a fashion forward coaster. I also layered in three placemats I had at home to create an interesting base for the table setting. Then I tucked in berries to add texture and another pop of color to the existing orange napkin and white plate in my table setting collection.

photo example

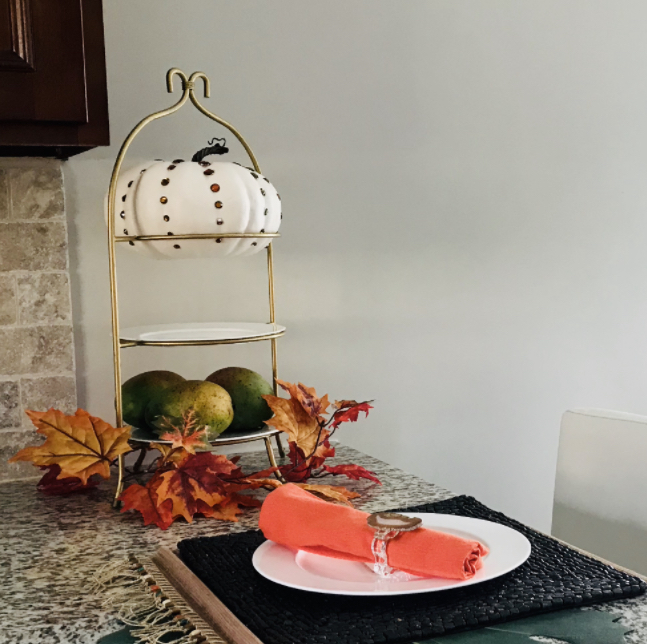
3. Began with taller items first at back of your fall decoration. Or center taller items if your decoration will be viewed from multiple angles. In this kitchen, I began with the tallest item at the back, the tiered plate and then added additional items to enhance it. But you could also layer in additional items that are mid-height to create a fuller look.

photo example

4. Fill out your decoration with foliage or other decor. In this tray I began with a bottom layer of petrified wood I found outside, and then layered in pinecones. But you could also introduce pine leaves.

5. Add final touches with pops of color. In this tray I introduced fall leaves and berries.

Need Decorating Advice?

Drop your questions below and we’ll answer them in an upcoming issue of our newsletter.

Subscribe now so you don’t miss it.

Interior Design/Interior Decorating

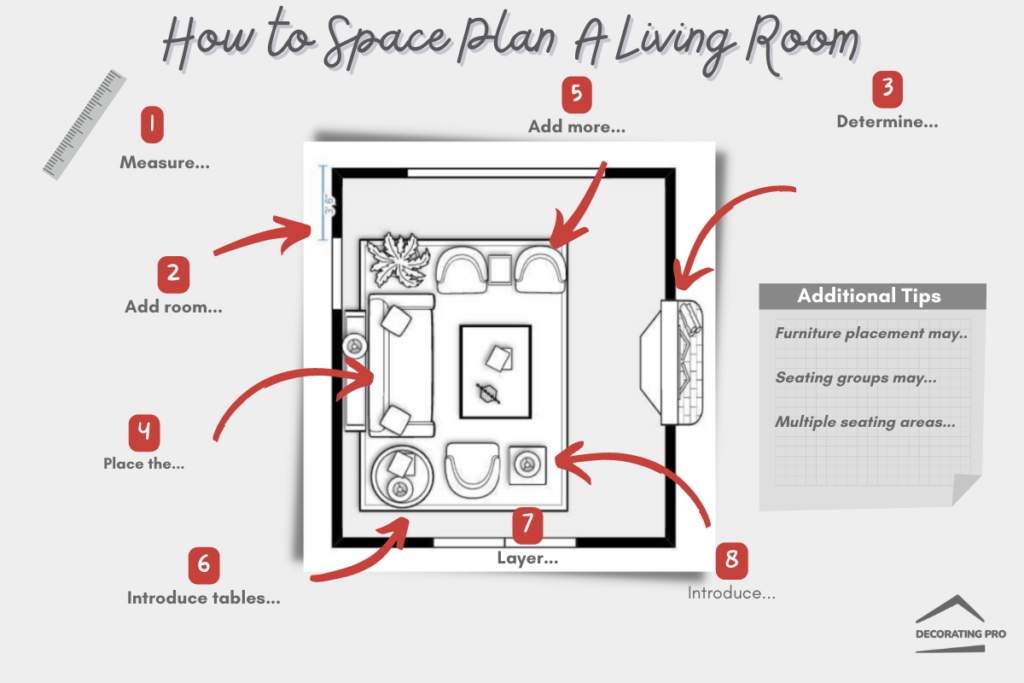
Interior Decorating: Ultimate Free Guide to Space Planning

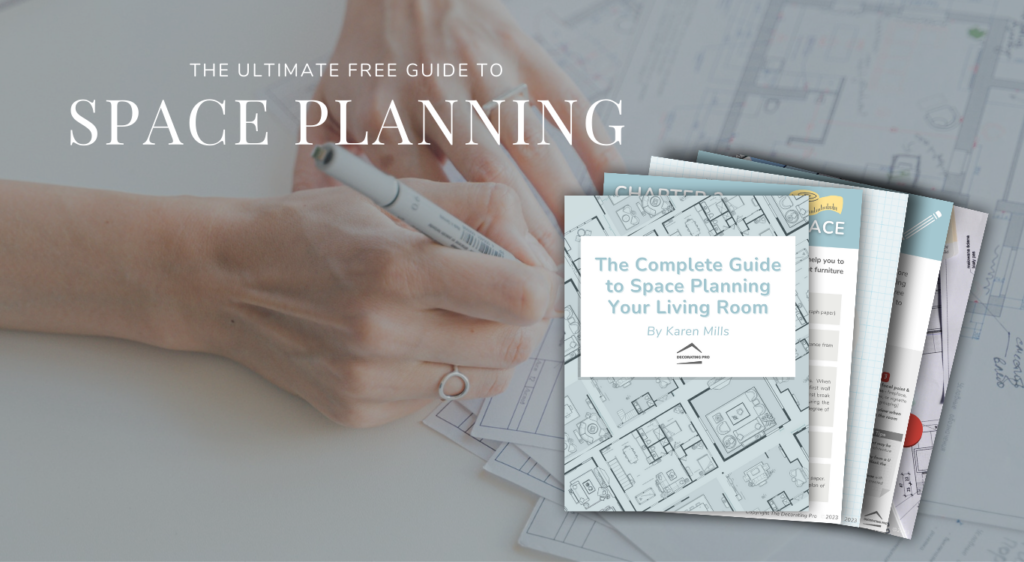
photo of space plan guide

Ever feel overwhelmed trying to start a new interior design project?

You’re not alone. As an award-winning designer who’s done over 1300 projects, I’ve had countless homeowners share how they not only felt overwhelmed but had no clue where to start.

That’s why I’m so excited to share my “Complete Guide to Space Planning Your Living Room” developed over the past 20 years as a professional designer to help guide you through the space planning design process so you can win the battle against overwhelm to create a beautiful room that brings you joy and makes staying home much more enjoyable!

Want to learn more?

Interior Design/Interior Decorating

Interior Design: 7 Ways to Space Plan an Open…

Tips for Making Sense of Your Living and Dining Room Open Floorplan Design by using an Effective Room Layout

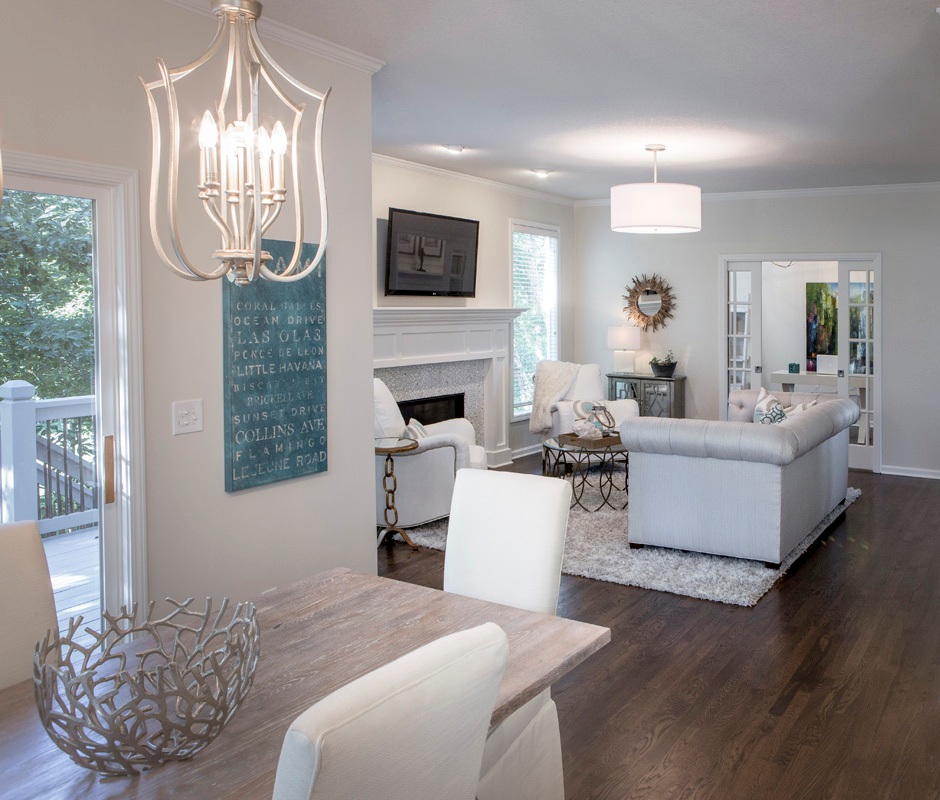
photo example

As an interior designer who’s worked on over 1300 projects, I’ve noticed the number one interior design dilemma that our clients struggle with begins with how to space plan, especially in an awkward space or an open concept floorplan. Read on for my seven design secrets to space planning more effectively in an open floorplan.

  1. Create Zones – The first step to space planning an open living area is to determine the areas or zones you need to function well in the space whether it’s a TV watching area, conversational grouping, dining area, or work area. But remember when you’re creating zones to ensure they fit naturally into the architecture of that space.
  2. Emphasize Focal Point – Once you’ve laid out the zones and their functions, you need to determine the focal point for each one like the fireplace above, a fantastic view, or a focal point you’ve created with a furniture grouping (vignette).
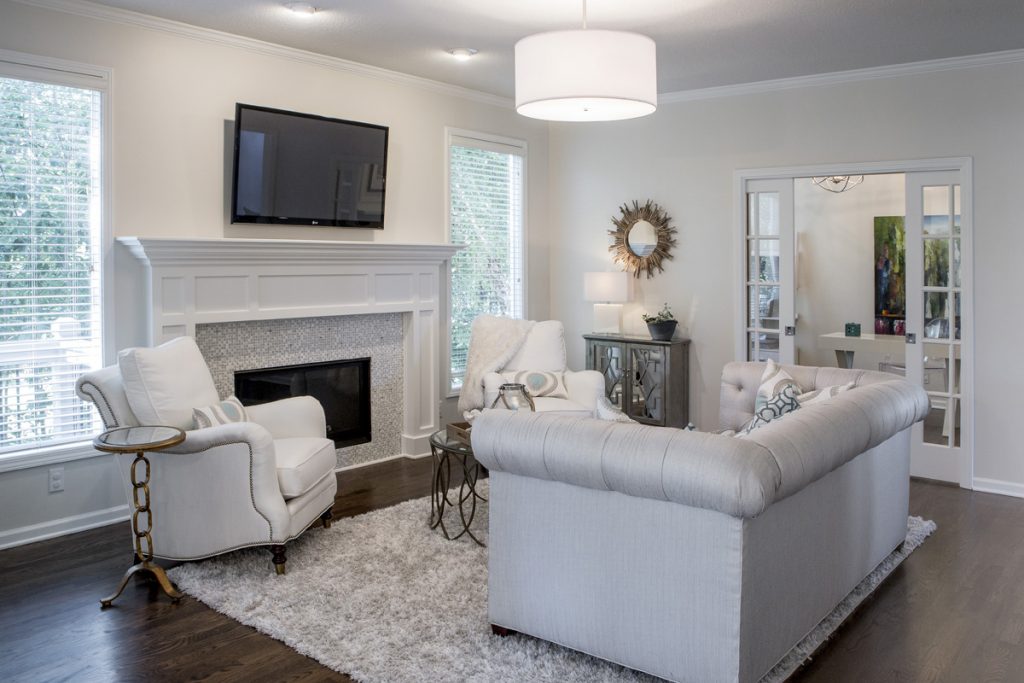
  3. Place furniture in a cozy grouping – As an interior designer I recommend starting with your living room zone(s) by creating groupings that emphasize conversation with the main sofa or sectional facing your focal point such as a “L” shape, “U” shape configuration. Here in this living room the sofa faces the fireplace focal point while the wingback chairs emphasize the focal point and encourage conversation with people seating on the sofa.
  4. Create cohesiveness with color, design style, rugs, and finishes – When placing furniture in cozy groupings, ensure that you have repeated the same colors and overall design style to make a harmonious space, while layering a rug underneath as shown in this photo.
  5. Leave ample walkways – As you’re creating these zones, remember to leave 3-4′ wide walkways between each one to get from one zone to another, while also leaving room to weave through conversational areas or push back chairs at a dining table.
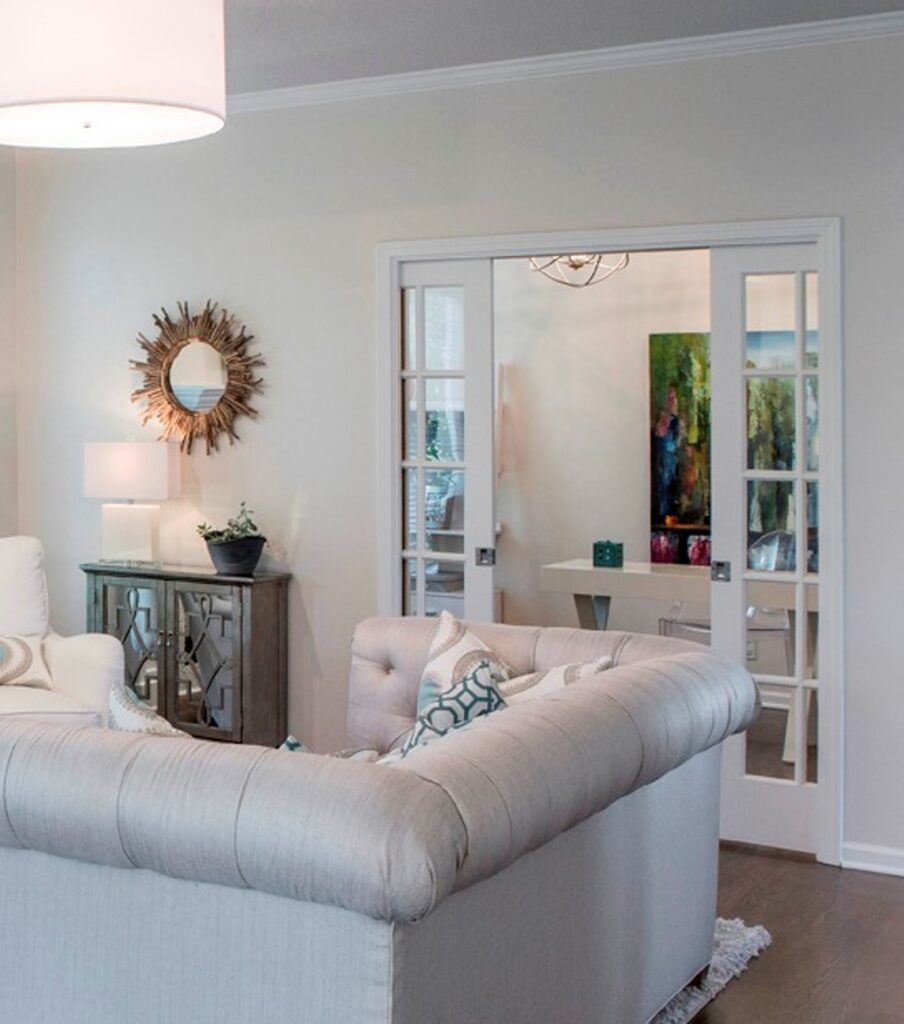
  6. Use dividers to further separate space when needed, whether it’s a room divider, pocket doors, glass wall or barn doors. Other great ways to divide space when remodeling or building can include different ceiling treatments, ceiling height, architectural features, or even tall elements like trees.
  7. Layer in Lighting – Chandeliers, sconces, lamps, and accent lighting also provide another way to divide a space visually, while adding an ambiance and task lighting when needed.

To learn more about space planning, click here!

Interior Design/Interior Decorating

Interior Decorating: The Decorating Pro

A Better Way to Learn to Decorate Your Home for Less

Click to watch video

Would you like to learn how to create the room of your dreams?

Or win the battle against an unappealing interior?

I understand.

That’s why I am so excited to announce The Decorating Pro, an online membership we created that teaches you how to decorate like a pro or become a professional decorator for a fraction of the cost of professional interior designer or college degree that will be officially launching soon!

Our proprietary teaching method developed over 20 years makes learning easier and faster, and our college-level content from a state-certified instructor is available online 24/7.

We also offer staggered learning stages to fit your skill level with milestones to measure your progress, design secrets/shortcuts using real world examples to make learning more effective, support from a state accredited instructor that includes twice monthly Q&A sessions, additional monthly design content bonuses, and a private Facebook community of fellow design membership students who will help support you. 

But the best part is that we are coming together as a community of design students to help design a better world through our financial support of Karen’s Kids, a charitable cause that supports the rescue of trafficked kids and other lost children.

Even though The Decorating Pro hasn’t officially launched, we are offering a few exclusive spots for our Founding Members for only $27 per month. Click the button below to sign up or learn more now!

And if you have more questions about The Decorating Pro or donating to Karen’s Kids, email [email protected]

And follow me on Instagram or Facebook here!

Interior Design/Interior Decorating

Interior Design: 3 Ways to Brighten a Dreary Living…

Tips for Creating a More Cheerful Space

photo example of topic
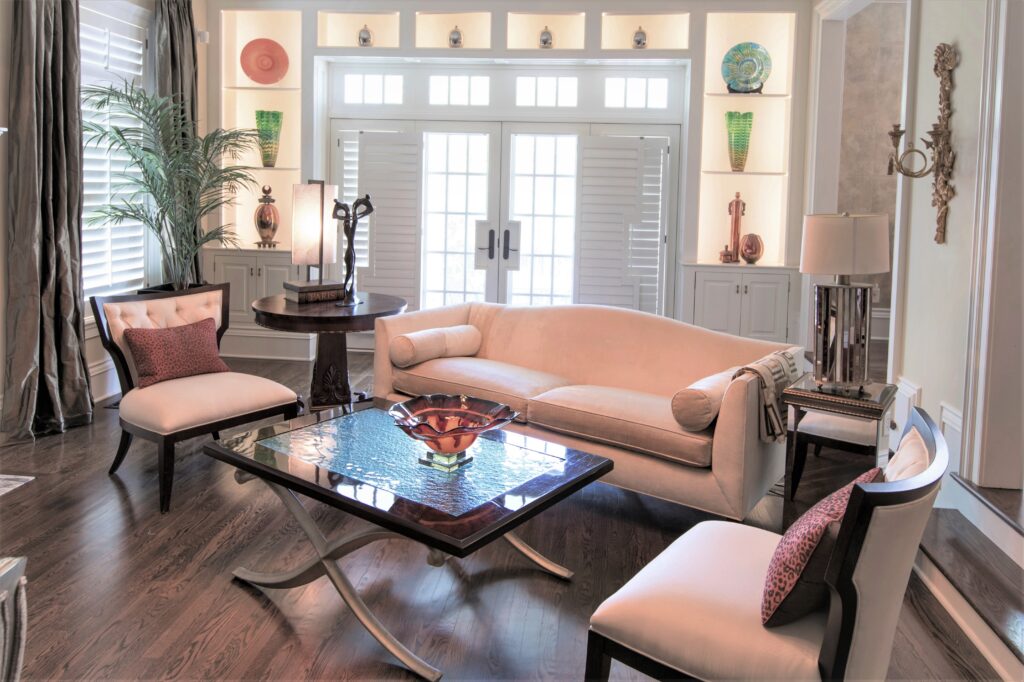
  1. Paint walls and ceilings a light color. In this internationally published living space, we designed, we painted the dark walls light, recovered the sofa and chair, slipcovered the armless chairs, and layered a lighter rug underneath the hearth area, completely transforming the space from dark and dreary to light and dreamy.

photo example of upholstery

2. Remove dark window coverings including drapery fabric or hard window treatments that block much of the light. In this hearth living area, the windows are only covered by white blinds, keeping the room feeling light airy.

photo example of partition

3. Replace or recover dark upholstery and rugs. In this living space we recovered all the dark heavy upholstery with lighter shades of fabrics and layered in a lighter rug to bounce additional light around the room.

For more great interior design ideas, sign up for our design blog here plus become a fan of Kansas City’s interior designer and former host of the Living Large design show, Karen Mills, on Facebook  or Instagram now!

We would love to hear from you and any topics you would like to be covered that haven’t. And if someone you know could benefit from this helpful information, we would love to have you pass it on!

Interior Design/Interior Decorating

Interior Decorating: How to Dress Your Living Room Shelves

Three Tips for Effectively Styling Shelves in Your Living Areas

Interior design by Karen MIlls
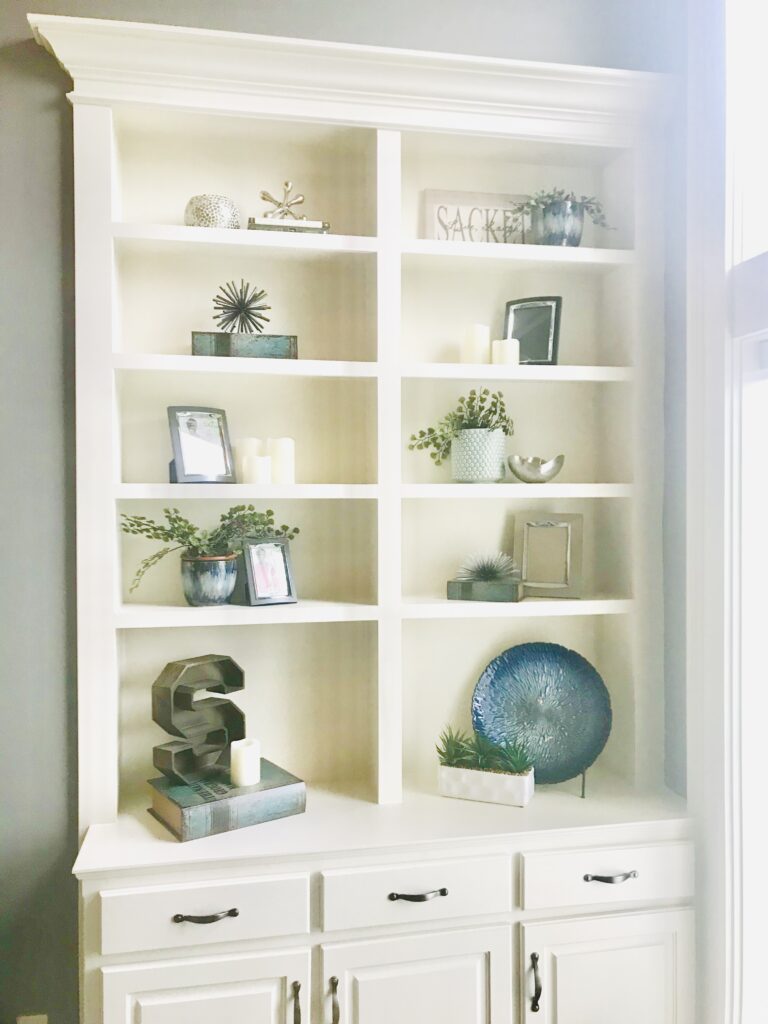
  1. Space plan your shelf layout. As you can see in this luxurious living room the furniture is placed in the room so it’s well balanced in the space with the bigger sofa flanked by smaller chairs to create a cohesive whole. On the shelves objects of similar shapes and sizes are balanced on each side of the shelving unit.
Interior design by Karen Mills

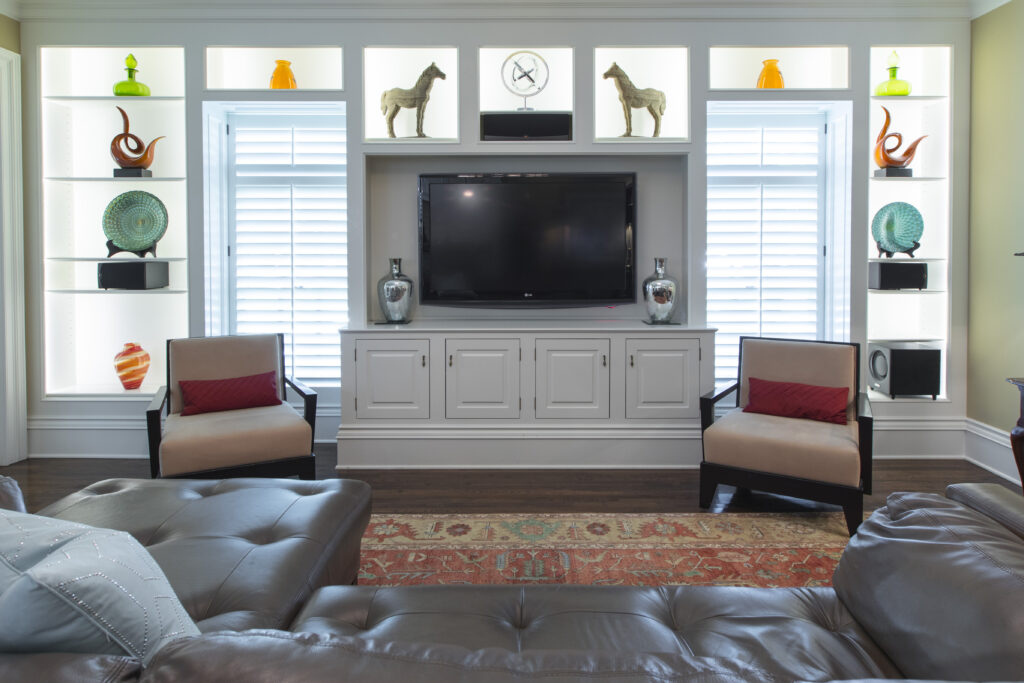
2. Create cohesiveness with color. In this family room we used the color scheme from the rug – orange, blue green, and tan on the shelves using both existing client decor and new introductions to create a unifying design on the shelves that brings the whole room together.

Interior styling by Karen Mills

3. Create vignettes (groupings). For this clients’ shelves, we layered in existing decor and photo frames for family photos, while introducing some pottery in the same color scheme and greenery to add texture.

For more great interior design ideas, sign up for our semi-monthly design blog. Plus, become a fan of Kansas City’s interior designer and former host of the Living Large design show, Karen Mills, on Facebook  and Instagram now! And if you feel someone you know could benefit from this helpful information, please pass it on!